
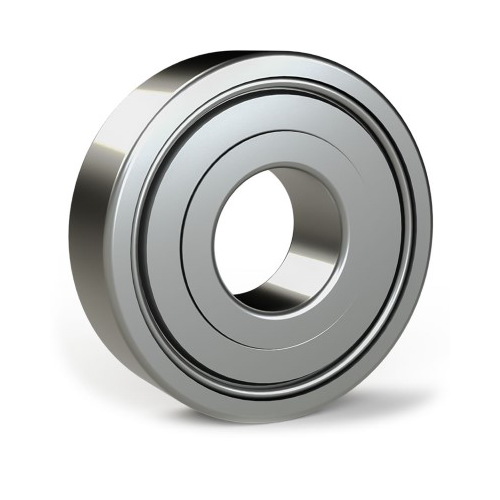
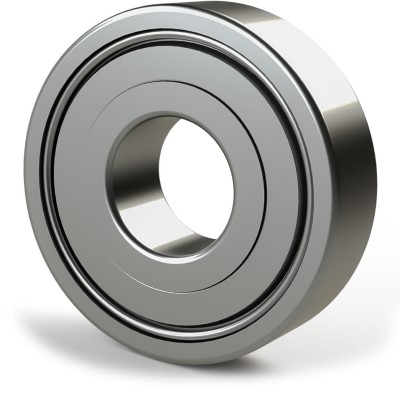
Description
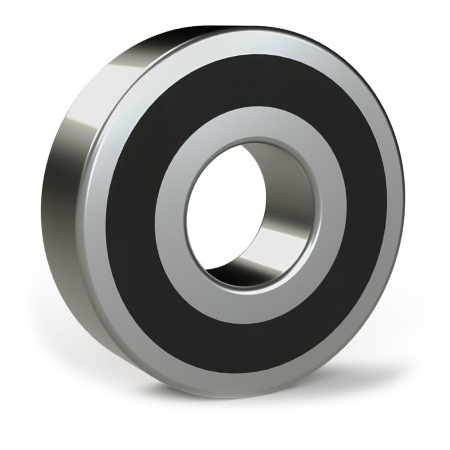
Kirby Rear Bearing – Indispensable for the Anchor
Suitable for virtually every model of Kirby vacuum cleaner, this rear bearing provides a universal solution to anchor wear and tear:
- Avalir Platinum
- Avalir 2
- Avalir 1
- Sentria 2 (G10D)
- Sentria 1 (G10)
- Ultimate G Diamond Ed.(G7D or DE)
- Ultimate G (G7 or UG)
- Generation 6 (G6)
- Generation 5 (G5)
- Generation 4 (G4)
- Generation 3 (G3)
Why the Kirby Back Bearing is Essential for your Vacuum Cleaner
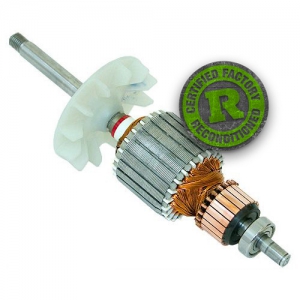
Notice your Kirby vacuum cleaner running less smoothly or making more noise? Chances are the rear bearing is in need of replacement. This small but essential part contributes to the efficient operation of the armature. With a new bearing you can greatly improve the performance as well as the lifespan of your vacuum cleaner.
Here you can find all Kirby motor parts
Find the Kirby bearing for
When is Replacement Necessary?
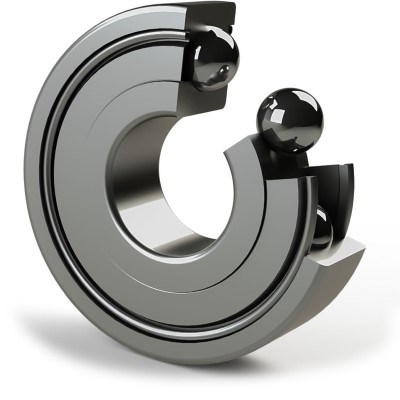
Although Kirby vacuum cleaners are known for their robust build quality, wear and tear can occur after intensive use. Especially the rear bearing gets a lot to endure. Wear of this can lead to:
- Reduced suction power
- Disturbing noise
- Risk of engine damage
By replacing the bearing in time, you can prevent these problems and keep your appliance functioning optimally.
Main advantages
1. More Suction Power.
A new rear bearing ensures that the armature rotates smoothly again, leading to more powerful performance and better cleaning.
2. Long Service Life
The materials used are high quality and guarantee long-lasting results. Fewer replacements, more peace of mind.
3. Quieter Operation.
A fresh bearing dampens vibrations and noises, which is especially pleasant in households with children, pets or noise-sensitive residents.
Replacing the Kirby rear bearing yourself
With a little skill and the right tools, you can replace the bearing yourself. To do this, follow these steps:
Step 1: Preparation
Turn off the vacuum cleaner completely and unplug it before you begin.
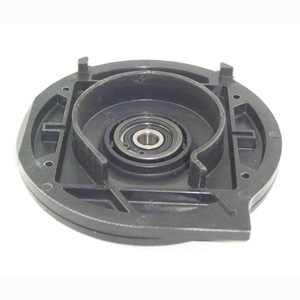
Step 2: Accessing the Motor
Remove the hood and, if necessary, other parts to open the motor compartment.
Step 3: Remove Old Bearing.
Use an appropriate bearing puller to carefully remove the old bearing. Pay close attention to its placement.
Step 4: Install New Bearing.
Install the new Kirby rear bearing in the same place. Make sure it is firmly seated.
Step 5: Complete Assembly.
Put all parts back in place and check that everything is connected properly. Then test the unit.
Summary
Replacing the rear bearing is a small procedure with a big effect. Your Kirby vacuum cleaner will run quieter, more powerful and last longer. Don’t wait until performance deteriorates noticeably – replace the bearing on time and keep your vacuum cleaner in top condition.
Order today and experience the difference in operation and comfort!


Reviews
There are no reviews yet.